Easy Caramelized Onions
Caramelized onions are onions that are slowly cooked over low heat until they become soft, golden brown, and naturally sweet. While they do take some patience to cook low and slow, they’re one of those simple ingredients that can completely transform a meal.
In this guide, I’ll show you exactly how to caramelize onions on the stovetop and share my best tips for getting perfectly golden, flavorful onions every time. I love making a big batch to keep on hand for burgers, sandwiches, salads, grain bowls, and more throughout the week!
Here’s why I love making a batch of caramelized onions:
Perfect for meal prep: Make a big batch and use them throughout the week on all of your favorite sides and mains.
Just 3 simple ingredients: All you need are onions, olive oil, and salt to create incredible flavor.
Naturally sweet and savory: Slow cooking brings out the onions’ natural sugars, creating rich flavor without adding any sweeteners.
You can use any type of onion to make caramelized onions, but each type of onion has a slightly different flavor and level of sweetness:
- Yellow onions: These are my go-to choice. They’re the perfect balance of savory and sweet, and their flavor becomes richer as they cook.
- Sweet onions: Sweet onions, like Vidalia onions, contain more natural sugars (glucose and fructose) than other varieties. They caramelize well and develop an even sweeter flavor, making them a great option for burgers and sandwiches.
- White onions: White onions have a sharper, more pungent flavor when raw, but they mellow significantly during cooking. They tend to break down a bit faster than yellow onions, so keep an eye on them as they caramelize.
- Red onions: As they cook, they develop a mild, sweet flavor. If you’re using them for the visual effect, they lose much of their vibrant purple color as they cook. If you love red onions, try them pickledor add them to my Pineapple Slaw or Red Potato Salad.
How to Slice Onions
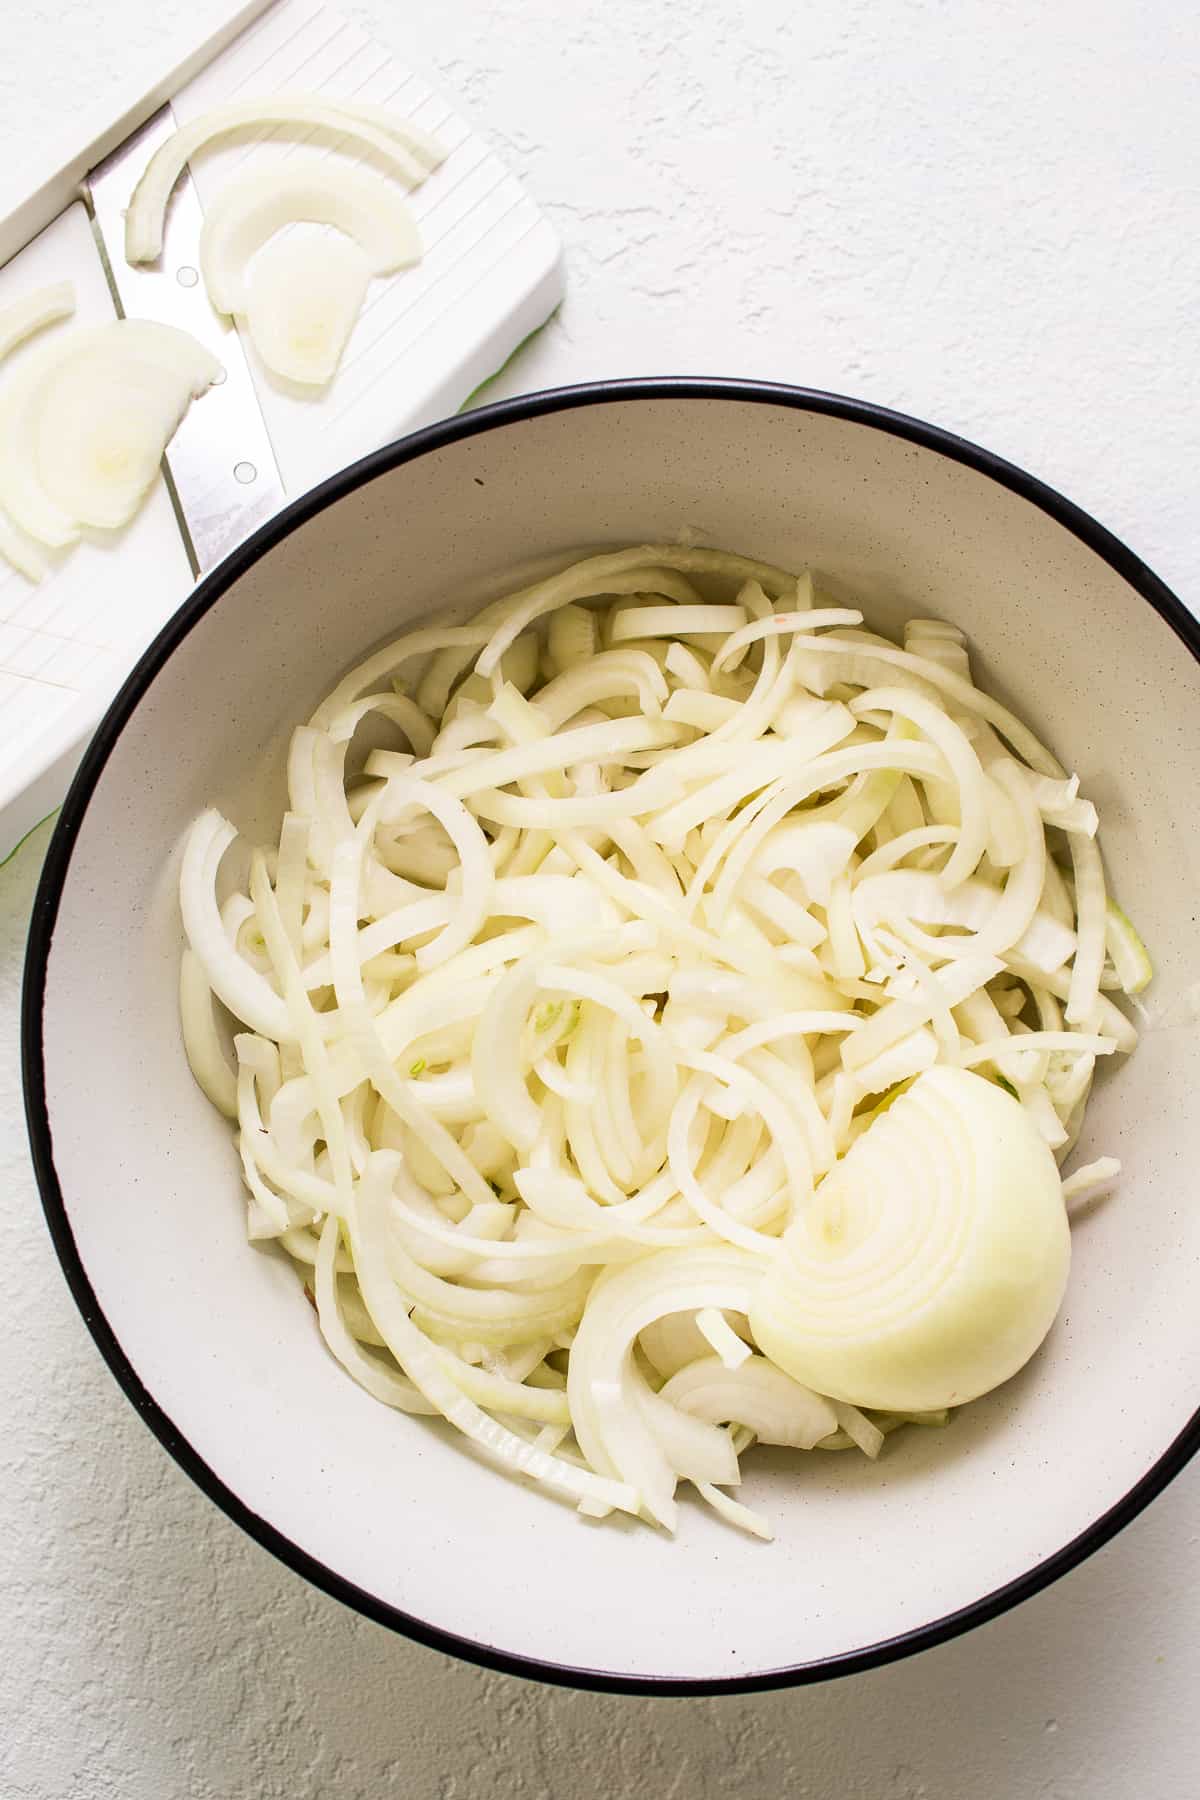
For the best caramelized onions, slice the onions into strips about ¼- to ½-inch thick. Too-thinly sliced onions can break down and become mushy during a long cooking process. Thicker slices hold their texture better.
I also recommend keeping the slices as uniform as possible to ensure even cooking. A sharp knife works great, but a mandoline can make quick work of larger batches.
For the best texture, slice the onions from root to tip instead of across the middle. Root-to-tip slices hold their shape better as they cook because the onion fibers stay intact.
How to Make Caramelized Onions
Caramelized onions aren’t difficult to make, but they do require patience. The key is cooking them low and slow. As they cook, the onions release moisture, soften, shrink, and eventually turn a rich golden brown color.
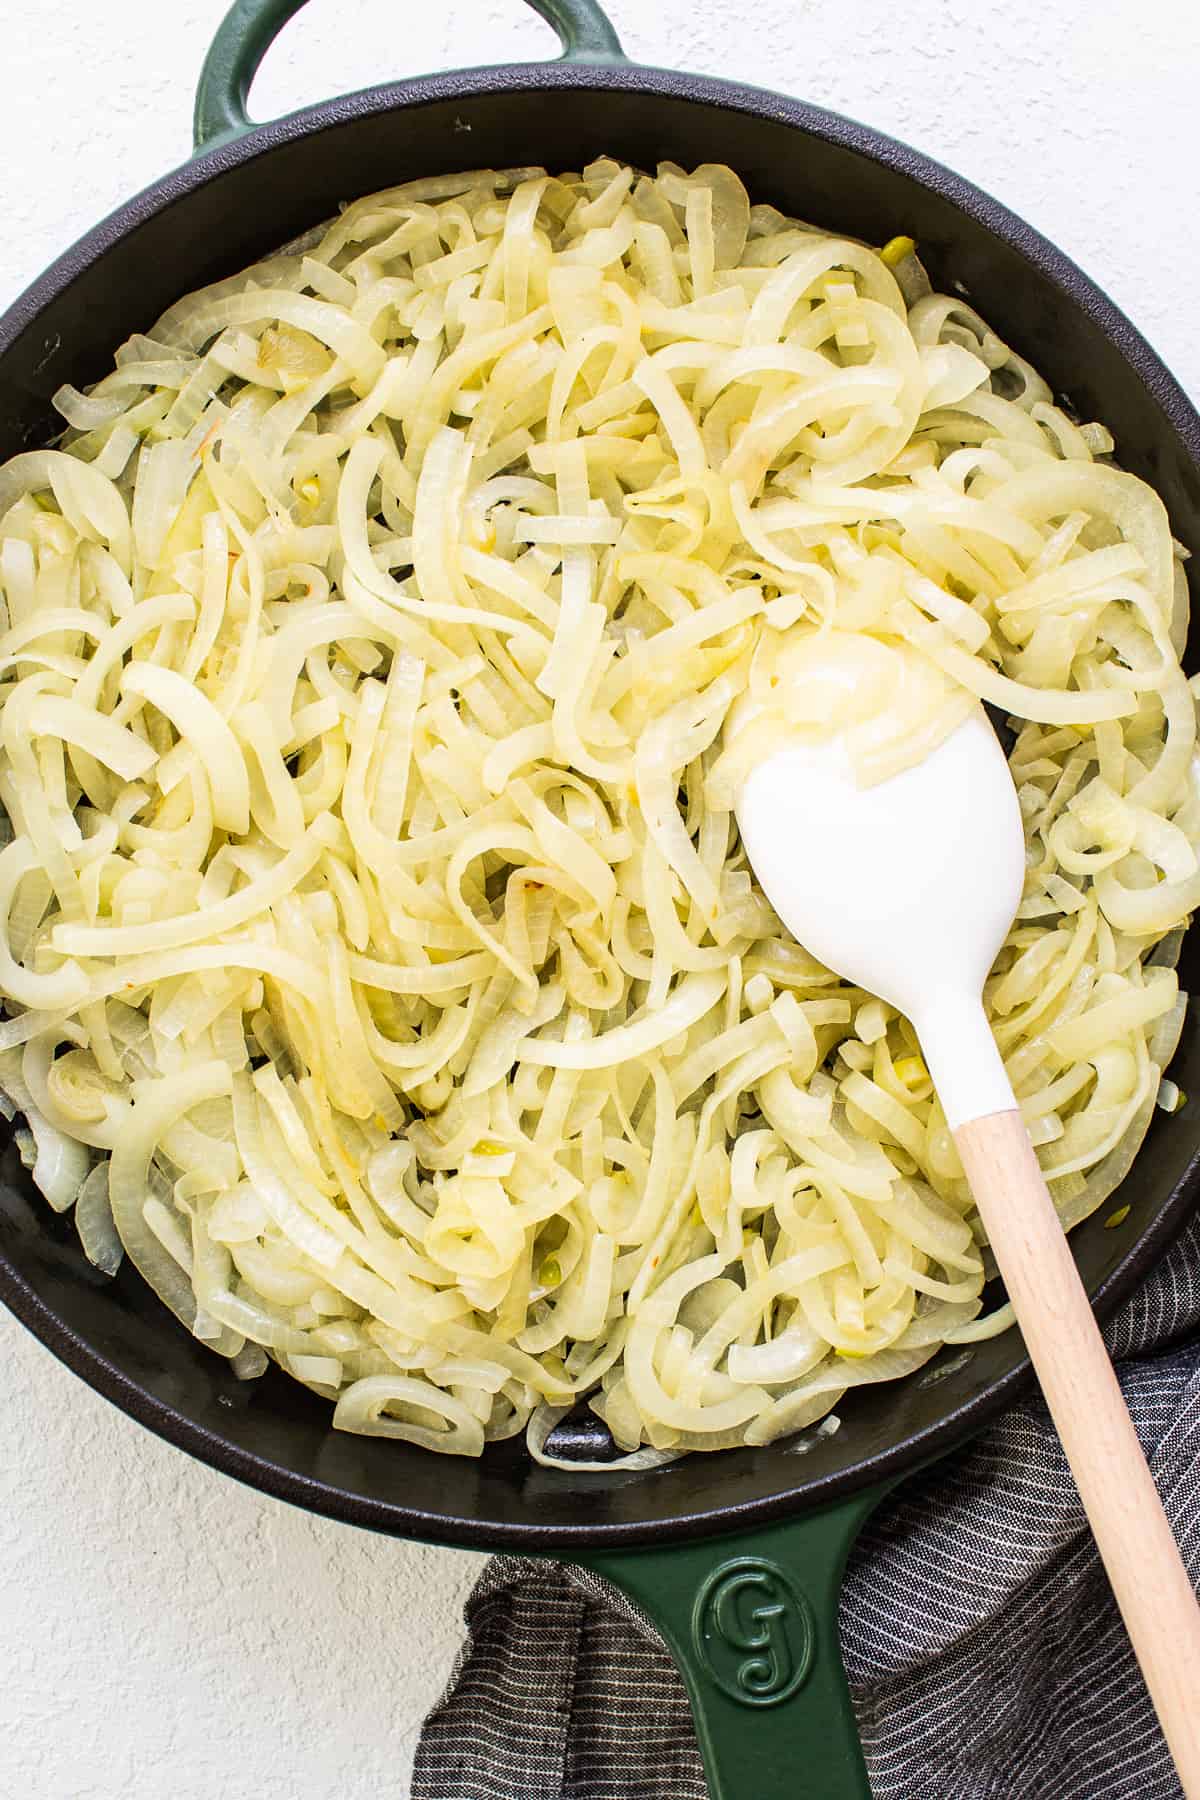
Step 1: Cook the Onions Low and Slow
Heat the olive oil in a large skillet over low heat and add the sliced onions. Toss to coat them with the oil, then cook slowly, stirring occasionally. During this stage, the onions will begin releasing moisture and softening. Don’t rush the process! Increasing the heat can cause the onions to burn before they have a chance to properly caramelize.
Step 2: Add Salt and Continue Cooking
After about 30 minutes, stir in the sea salt. I don’t add salt right away to keep the onions from releasing too much moisture too early in the cooking process. This helps them soften gradually before they begin browning and developing deeper flavor.
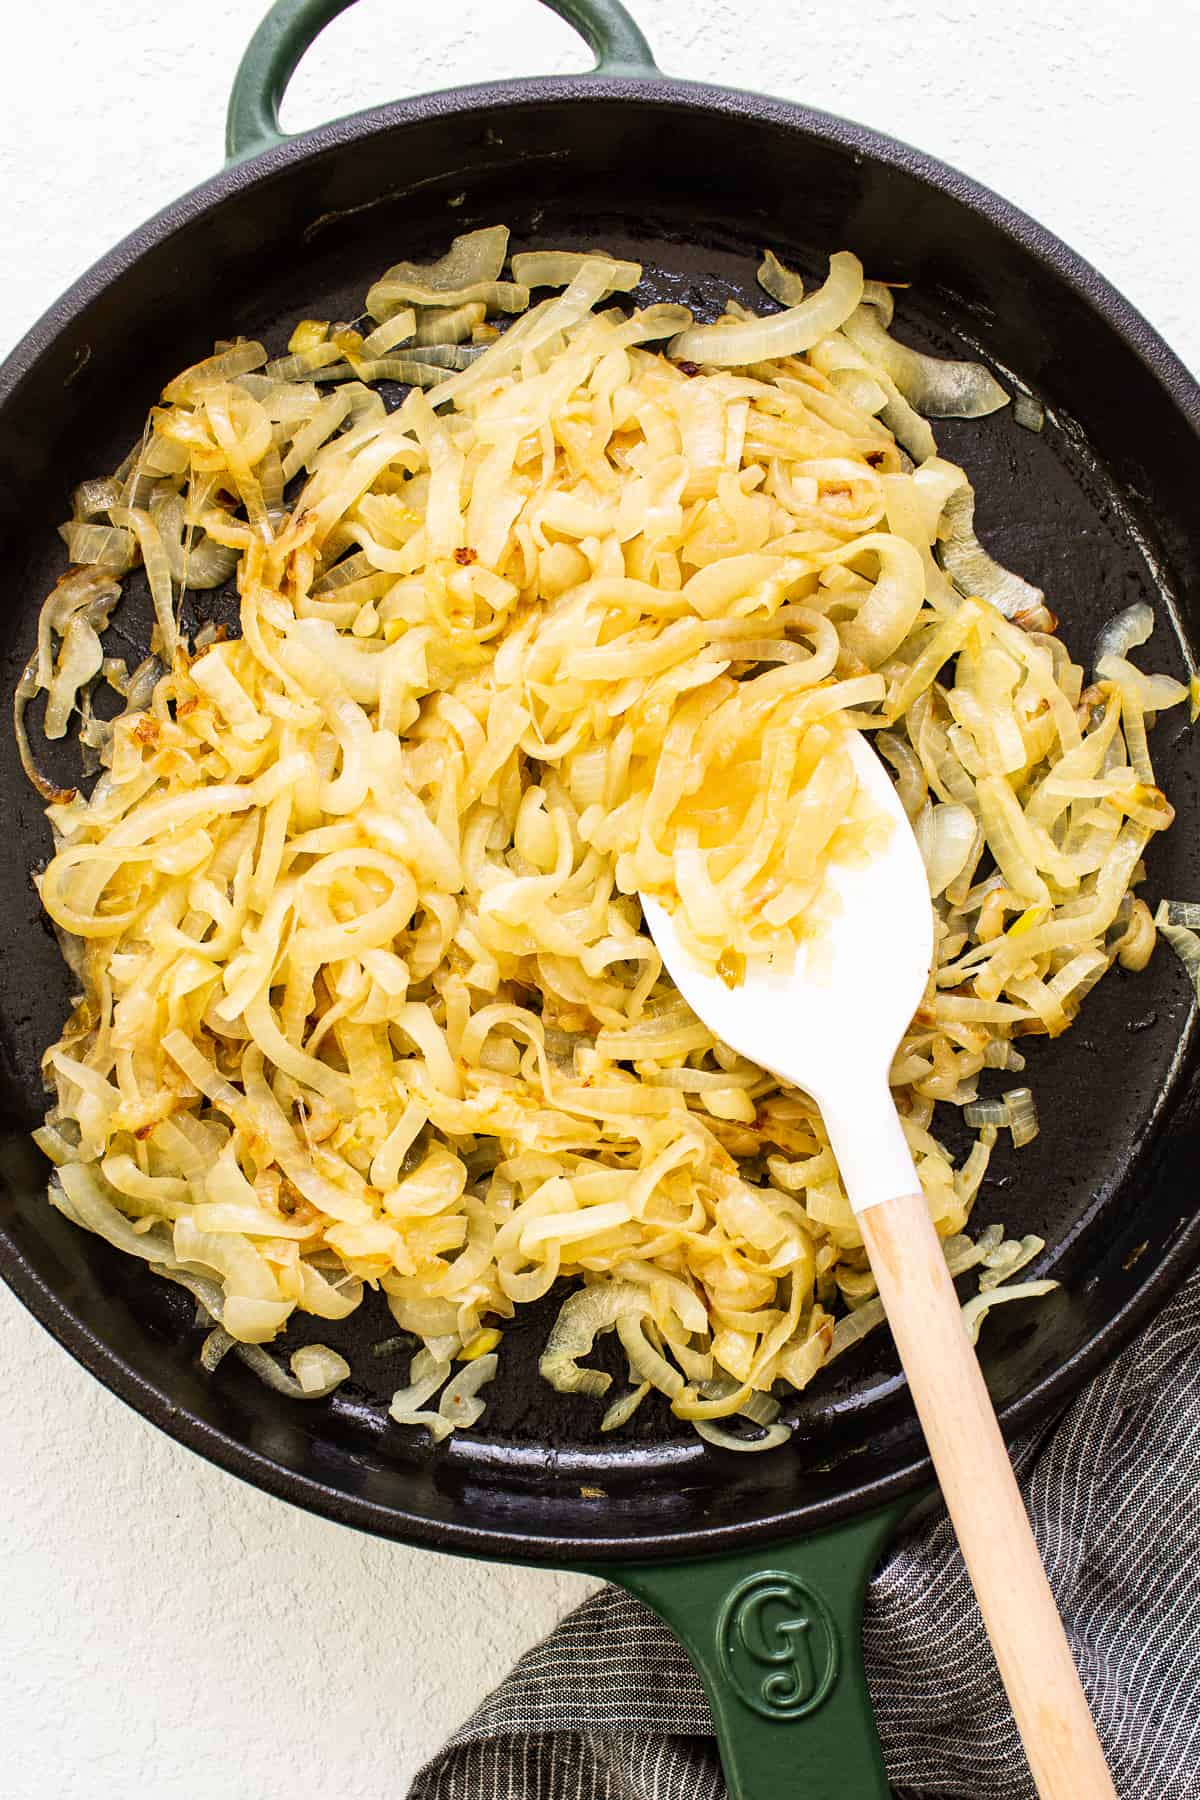
Step 3: Let the Onions Caramelize
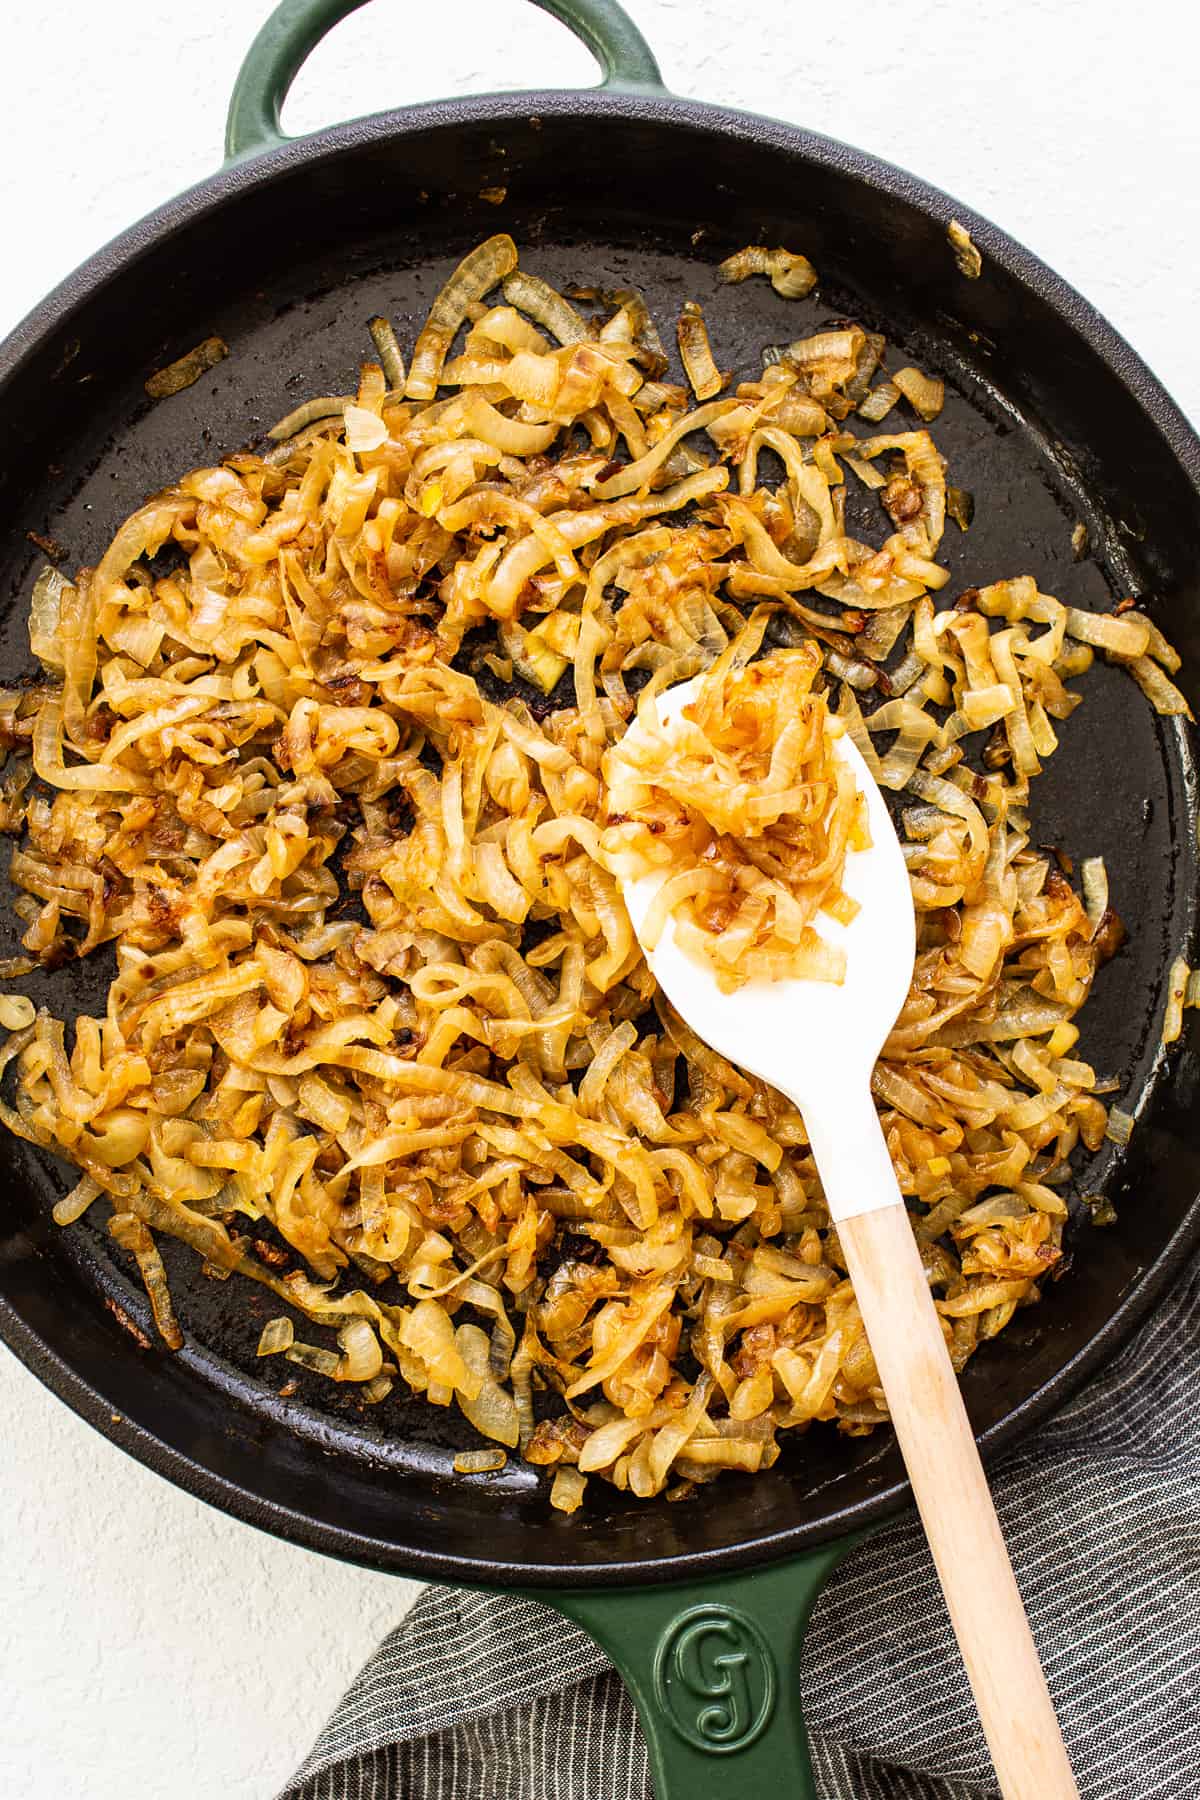
Continue cooking the onions for another 20 to 30 minutes, stirring occasionally. As excess moisture evaporates, the onions will begin to take on a golden brown color and develop that signature sweet, rich flavor. You’ll notice them becoming jammy as they continue to cook down.
Step 4: Finish and Serve
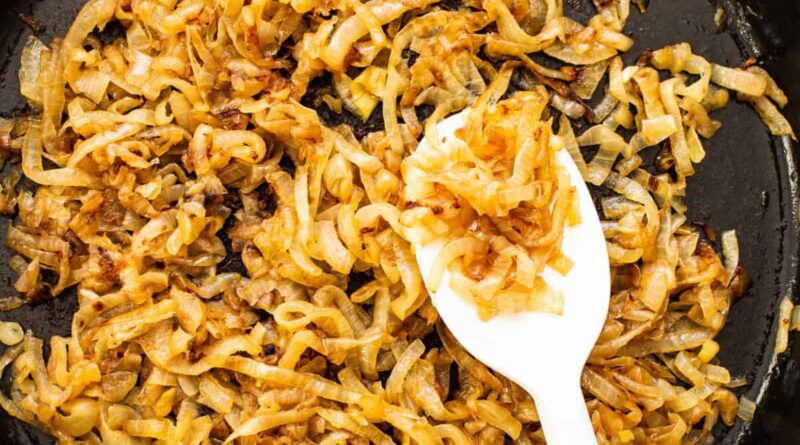
The onions are done when they’re deeply golden brown, very soft, and significantly reduced in volume. They should have a silky, jam-like texture with a rich, slightly sweet aroma. You should have a deeply caramelized flavor with no harsh raw onion bite remaining. Remove them from the heat and serve immediately, or let them cool before storing for later.
A few small adjustments can make a big difference in how your caramelized onions turn out:
- Don’t slice too thin: Very thin slices tend to break down too much during the long cook time and can lose their structure. A slightly thicker cut helps them hold up better as they cook down.
- Salt timing matters: Adding salt later in the process helps control how quickly the onions release moisture, which supports better texture and more even caramelization.
- Watch for early browning cues: If you notice dark spots forming too soon, that usually means the heat is a bit too high. Lower the heat so the onions can soften and develop flavor gradually.
- Manage sticking without disrupting flavor: You don’t need to deglaze the pan for this recipe, but if the onions start sticking too much, a small splash of water can loosen them. If they start looking dry, a drizzle of olive oil helps maintain even contact with the heat.
- Pan choice affects results: Different cookware behaves differently. Cast iron tends to retain steady heat, while nonstick may cook a bit differently. It’s important to watch the onions closely, regardless of the pan you use.
- Trust the timeline: The color change happens later than expected, so avoid the urge to rush or turn up the heat if they still look pale halfway through. Expect your onions to take between 50 and 60 minutes!
Serving Ideas
French onion soup is the classic way to use them, but caramelized onions are one of those easy add-ons that instantly make just about anything taste better. I love keeping a batch in the fridge and using them throughout the week in both simple meals and more elevated dishes.
Here are some of my favorite ways to use caramelized onions:
Caramelized onions are one of my favorite meal prep ingredients because they work in so many different recipes throughout the week. To store, let them cool completely before transferring to an airtight container. Store them in the refrigerator for up to 7 days.
When you’re ready to use them, enjoy them cold or gently reheat them in a skillet over low heat. The microwave works, too, but the texture is best with the skillet method.
To freeze, once cooled, transfer them to a freezer-safe container or freezer bag and freeze for up to 3 months. For easy portioning, place them in an ice cube tray or a silicone mold. Once frozen, transfer the portions to a freezer bag and grab only what you need.
To thaw, transfer the onions to the refrigerator overnight. You can also add frozen caramelized onions directly to hot soups, sauces, grain bowls, pasta dishes, or skillets where they’ll thaw and warm as they cook.
Do you caramelize onions in butter or oil?
You can use either butter or oil to caramelize onions…or a combination of both! I prefer olive oil because it has a higher smoke point, but butter can add a richer flavor.
Can you caramelize onions faster?
You can’t rush true caramelized onions. The deep flavor and golden color come from slow cooking over low heat, which usually takes about an hour. At higher heat, you risk browning the outside too quickly before the onions fully soften and develop flavor.
Can I use white onions instead of yellow?
White onions work just fine. They tend to have a sharper flavor when raw but mellow out as they cook. They just break down a bit faster than yellow onions, so keep an eye on the texture as they caramelize.
Can I caramelize onions in the oven?
Caramelizing onions in the oven is a great hands-off method for cooking a larger batch. If you’d like to try, steal my kitchen hack for mess-free onions in the oven. I use red onions in this recipe, but different types work with this method, too. You’ll just need a baking sheet for this recipe, not a Dutch oven.
-
Use a mandoline or a very sharp knife to slice all 4 onions into even slices to about ¼- to ½-inch thick.
-
Heat a large, cast-iron skillet over low heat and add the olive oil. When the olive oil is fragrant, add the onions.
-
Toss the onions with olive oil and cook on low for 30 minutes, stirring periodically.
-
After 30 minutes, season the onions with salt. Stir and let the onions cook for another 20-30 minutes over low heat, stirring periodically.
-
When the onions turn a golden brown color, remove them from the pan.
As for seasoning onions, for classic caramelized onionsall you need is salt. If you’d like to add extra flavor, try stirring in your preferred herbs, black pepper, or a splash of balsamic vinegar near the end of cooking. A little goes a long way!
Some recipes add brown sugar to speed up browning and create a sweeter final flavor. I prefer letting the onions’ natural sugars do the work!
Calories: 91 kcal, Carbohydrates: 7 g, Protein: 1 g, Fat: 7 g, Fiber: 1 g, Sugar: 3 g
Nutrition information is automatically calculated, so should only be used as an approximation.