Birthday Cake Protein Balls (No Food Processor!)
I’ve been making these birthday cake protein balls for years, and they’re still one of my most-requested snacks — probably because they taste like actual birthday cake batter, not a chalky protein bar. The secret’s in the almond extract and rainbow sprinkles, which give every bite that unmistakable “licking the bowl” flavor before you even think about the fact that they’re packed with protein.
I tested these both blended in a food processor and mixed by hand in a single bowl, and honestly, the one-bowl method won every time — most of you making a quick snack don’t want to drag out extra equipment, so that’s the version I’m sharing today. (If you’ve made my original cake batter protein balls before, this is the same trusted method, just with a birthday twist.)

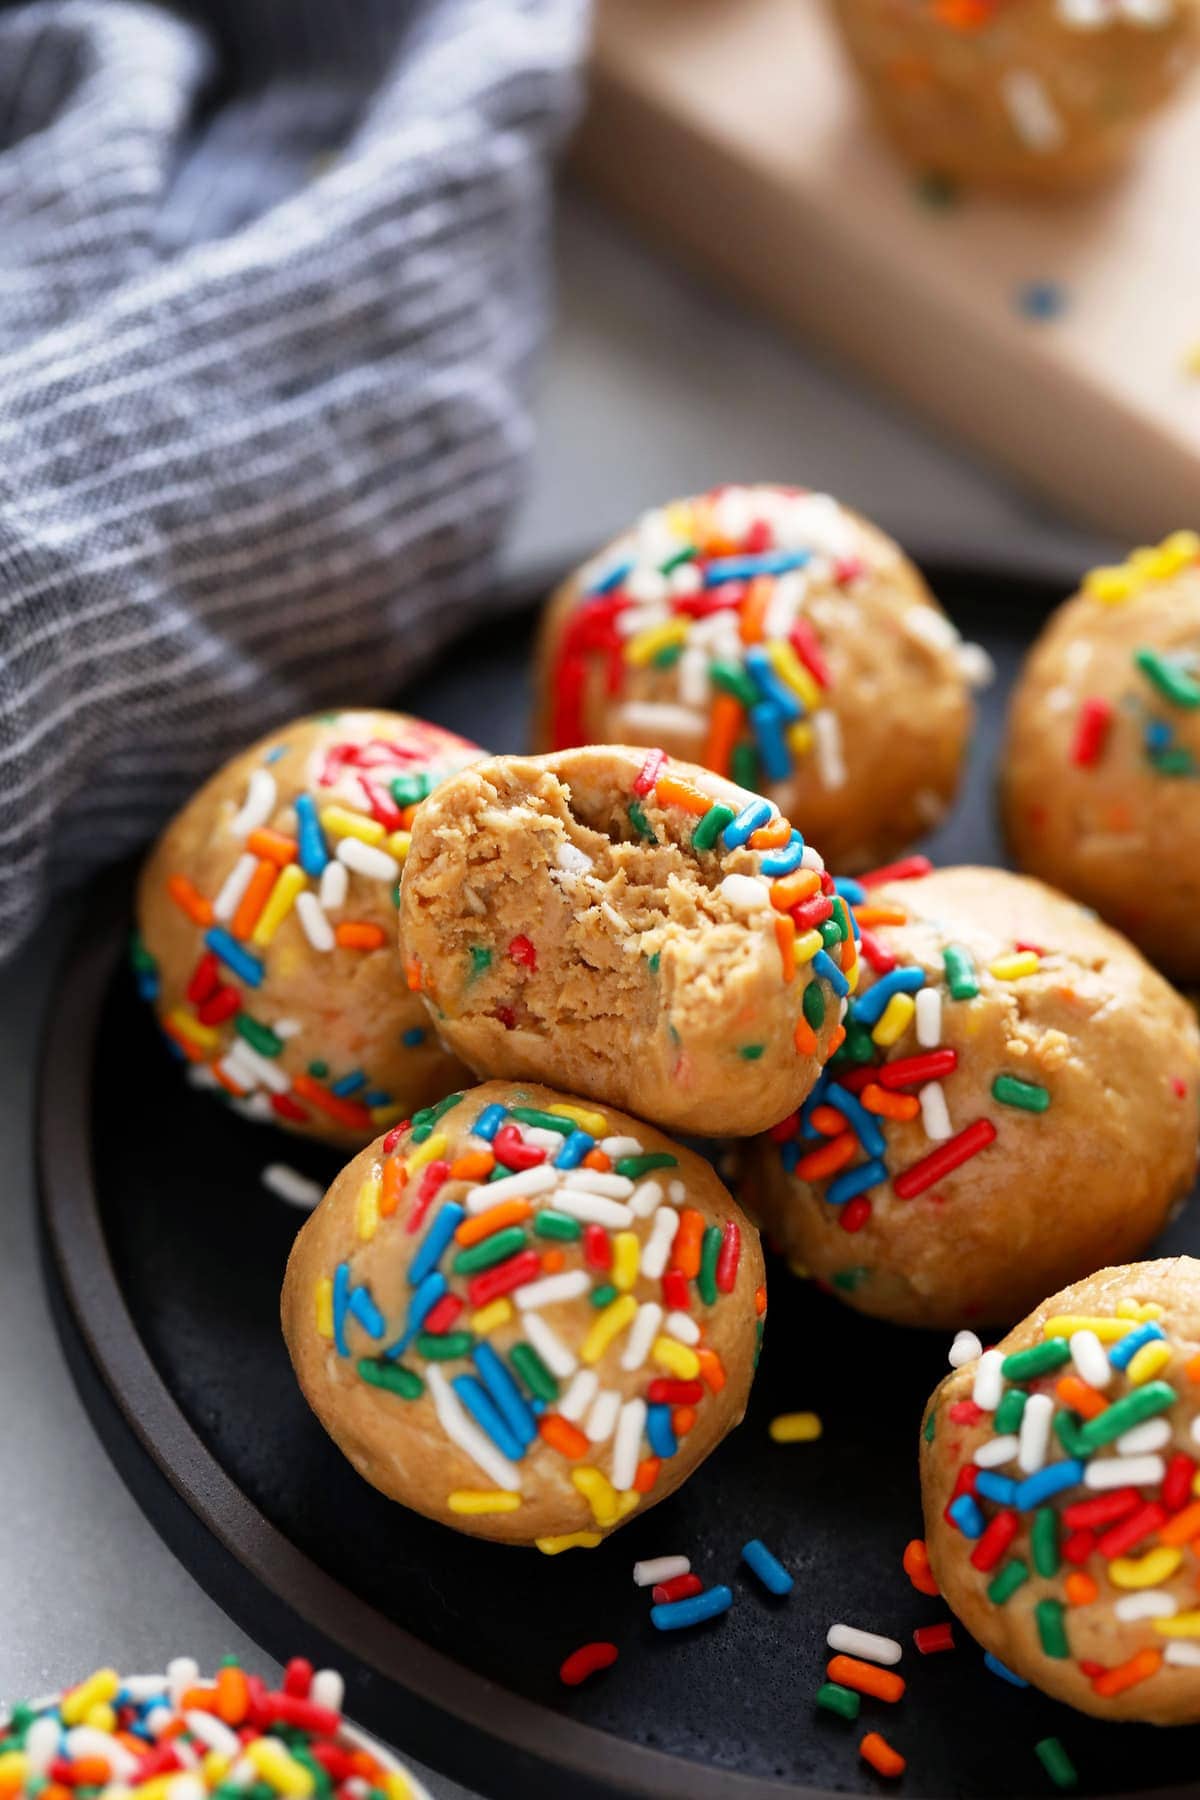
These birthday cake protein balls taste just like funfetti cake batter, thanks to almond extract, vanilla, and a handful of rainbow sprinkles folded into a simple oat-and-nut-butter base. They come together in one bowl with no food processor and no baking, packing 6g protein per ball. It’s the fastest way to satisfy a cake craving without turning on the oven.
⏱️ Total Time: 10 minutes | 🍽️ Yield: ~14 balls | 📊 Level: Easy | 🥕 Diet: Gluten-free, no-bake
Why You’ll Love These Birthday Cake Protein Balls
These birthday cake protein balls have been a go-to in my kitchen for years, and here’s why:
- No food processor needed: Just one bowl and a spoon — no blending, no cleanup hassle.
- Tastes like real cake batter: The almond extract, vanilla, and sprinkle combo is the flavor trick that makes these taste like the bowl you used to lick as a kid, not a “healthy” stand-in.
- 6g protein per ball: A satisfying snack that actually holds you over, not just a sugar hit.
- Freezer-friendly: I keep a batch of these in the freezer for when my sweet tooth hits mid-afternoon — they satisfy the craving without derailing my macros.
Ingredients You’ll Need
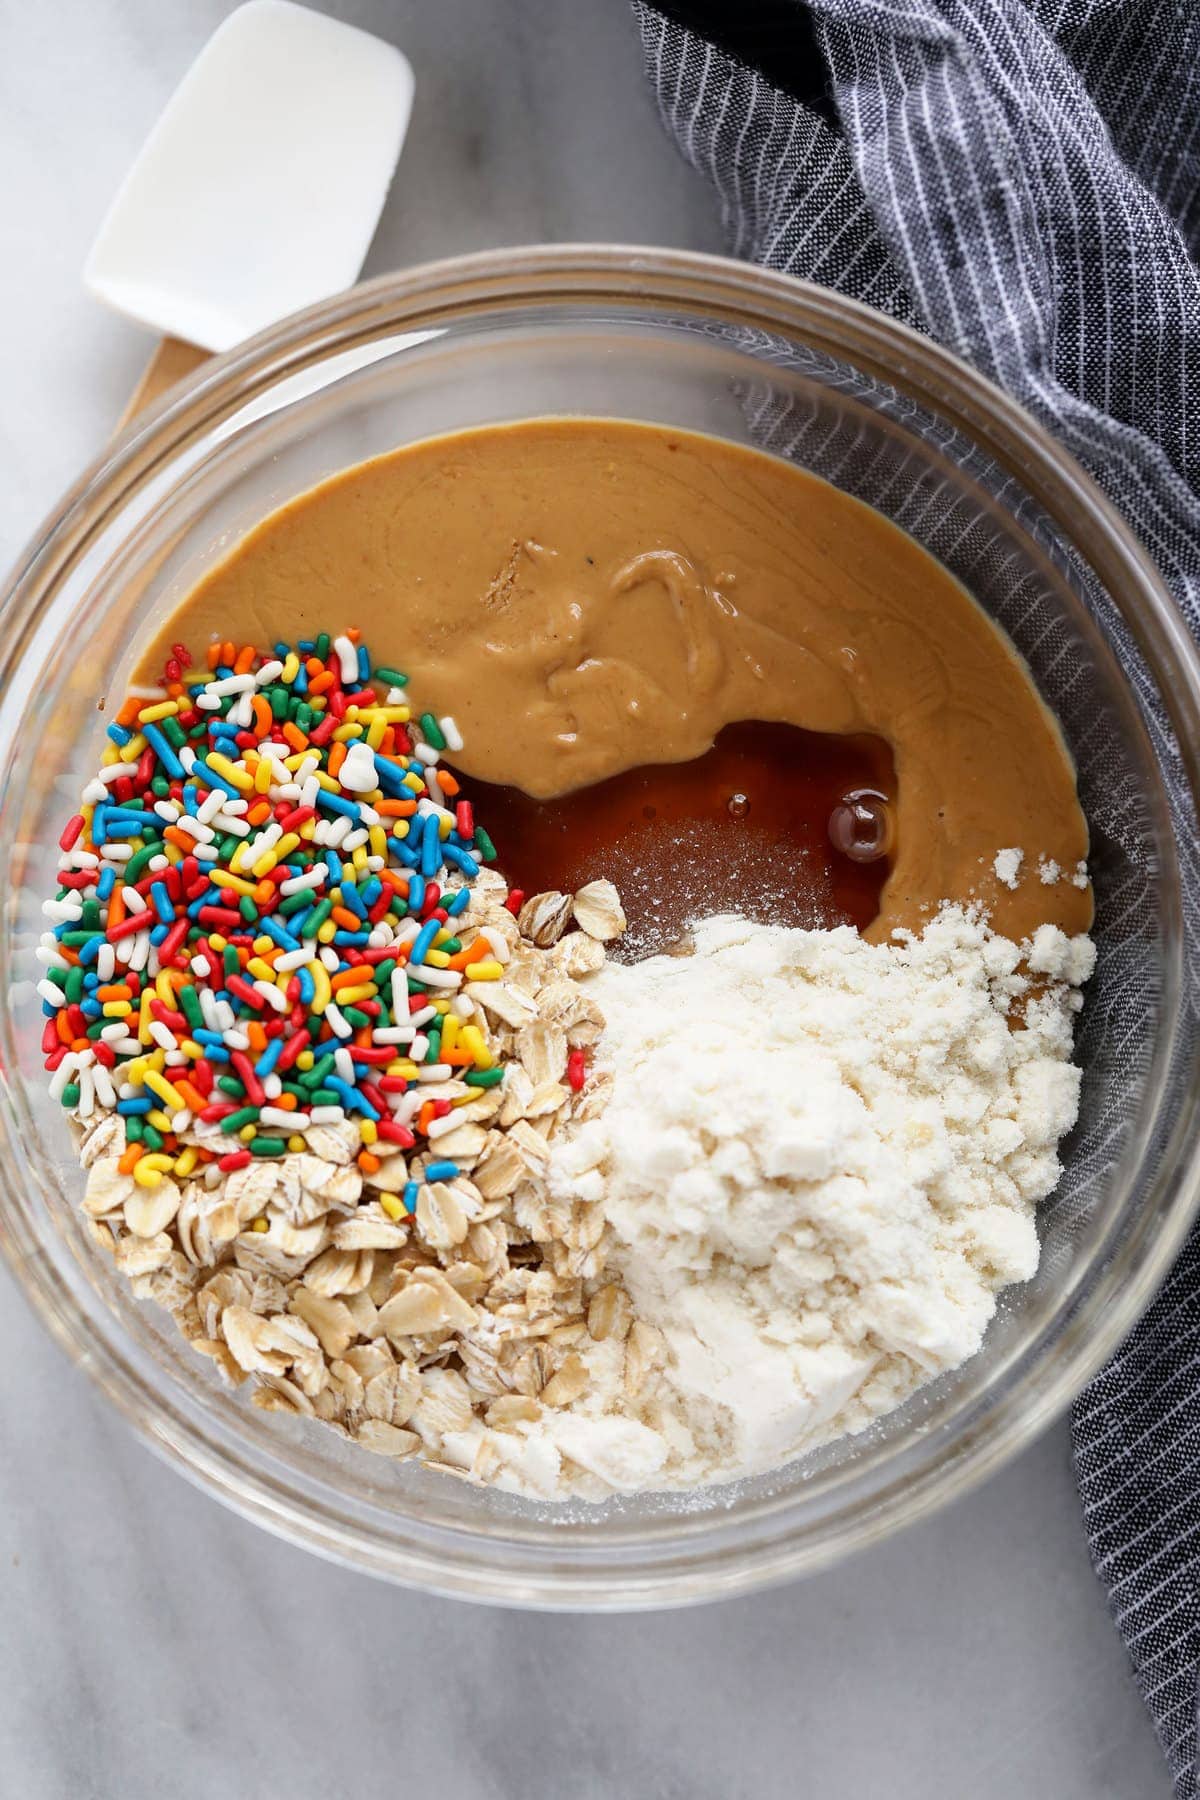
You only need 6 ingredients to make these cake batter protein balls, and I’d bet you already have most of them in your pantry:
If you love this flavor combo, you have to try my funfetti cake batter dip next — it’s the same cake batter flavor in dippable form, perfect alongside animal crackers or graham crackers.
How to Make Birthday Cake Protein Balls
Making birthday cake protein balls really is as simple as it sounds — it’s basically a 3-step process: mix the dough in one bowl, scoop and roll it into balls, then roll each ball in extra sprinkles before chilling. I’ve written out the exact ingredient amounts and full instructions in the recipe card below, so scroll down when you’re ready to get mixing.
Tips for the Best Protein Balls
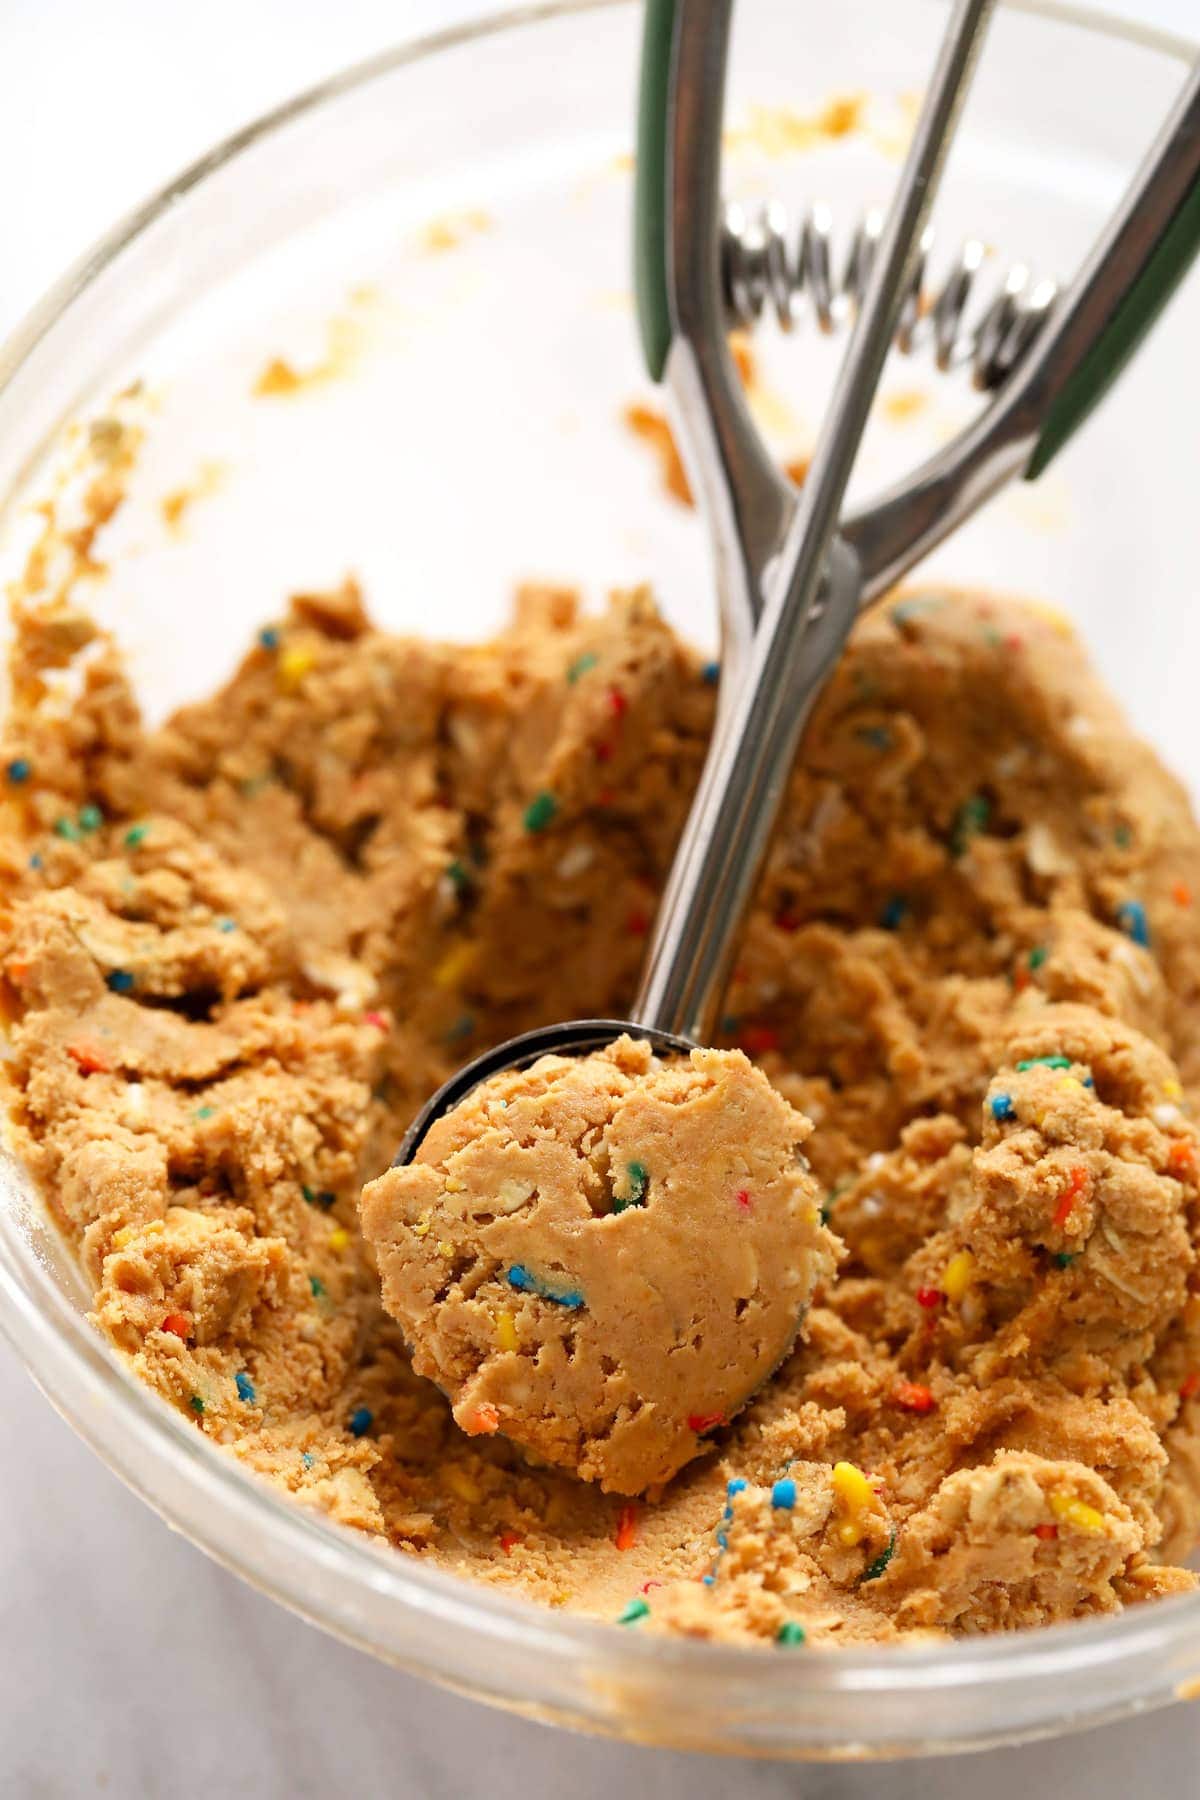
- Dough too dry or crumbly: Add liquid (maple syrup, honey, or a splash of milk) 1 teaspoon at a time until it holds together when pressed.
- Dough too wet or sticky: Add more protein powder or oat flour, 1 tablespoon at a time, until it firms up.
- Cold nut butter: Warm it slightly before mixing — cold cashew or almond butter is the number one cause of a stiff, hard-to-roll dough.
- Protein powder variability: Different brands absorb moisture differently, which is exactly why the same recipe can turn out dry in one batch and wet in another.
I learned this one the hard way: the first time I made these with a new plant-based protein powder, my dough turned into a crumbly mess that wouldn’t hold together no matter how much I kneaded it. Turns out that brand soaked up way more liquid than the whey protein I normally use. Now I always add my wet ingredients gradually and check the dough’s texture before adding all of the protein powder at once — it’s a lot easier to add more powder than it is to fix an overly dry dough.
Variations
One of my favorite things about this recipe is how easy it is to customize. Here are a few of my go-to spins:
- Chocolate chip birthday cake balls: Fold in mini chocolate or white chocolate chips along with the sprinkles.
- Nut-free version: Swap the cashew butter for sunflower seed butter.
- Extra funfetti: Roll the finished balls in a second coat of sprinkles for maximum color and crunch.
- Seasonal sprinkle swaps: Use Christmas, Halloween, or Easter-colored sprinkles to turn these into a treat for any occasion.
The extra funfetti version is the one I make most often for my family’s birthdays — a double coat of sprinkles makes them feel extra celebratory without any extra effort. I’ve also rolled this same dough into egg shapes and dipped them in a white chocolate coating for an Easter version, which is basically just my protein cake pops in a different shape. If you love the birthday cake flavor here, those are worth trying next.
Store birthday cake protein balls in an airtight container in the fridge for up to 1 week, or in the freezer for up to 2-3 months. For the best texture, let them sit at room temperature for a few minutes before eating — they’re noticeably firmer straight out of the fridge or freezer.
Looking for more no-bake protein snacks to keep stocked in your freezer? My thin mint protein bites are another one of my go-to make-ahead treats.

They taste like funfetti cake batter — the combination of almond extract, vanilla, and colorful sprinkles gives them that unmistakable “licking the bowl” flavor, but in a no-bake, protein-packed snack. I get asked constantly if there’s actual cake mix in these — nope, it’s all in the extract combo.
Yes — that’s the whole point of this recipe! Everything mixes together in one bowl with a spoon (or your hands toward the end). No blending or food processor required.
Your dough is likely too dry. Add your liquid sweetener (maple syrup or honey) one teaspoon at a time until the mixture holds together when pressed. This is common with drier protein powders or if your nut butter isn’t very runny.
Almond butter or peanut butter both work, though they’ll add a slightly nuttier flavor that’s a bit less “cake batter.” For a nut-free version, sunflower seed butter is the best swap.
Yes — freeze them in a single layer until solid, then transfer to a freezer-safe bag or container for up to 2-3 months. Thaw in the fridge, or let sit a few minutes at room temperature before eating.
Yes, as long as you use certified gluten-free oats (or oat flour) and check that your protein powder and sprinkles are labeled gluten-free, since some sprinkles are processed in facilities that handle wheat.
-
Place all ingredients into a medium bowl.
-
Use a wooden utensil to mix until combined. Eventually, it may be easier to knead the dough with your hands. The dough should be malleable and a little bit oily. If it is not, add water by the teaspoon until it turns into a cookie dough-like dough.
-
Use a 1 tablespoon cookie scoop, and roll balls between your palms.
-
Place additional rainbow sprinkles on a plate and roll balls in the sprinkles and then roll them between your palms one more time. Place on a plate.
-
Eat immediately and store in the freezer. Will last up to 3 months frozen.
- Cashew butter: This recipe calls for drippy cashew butter. I love the Good and Gather brand at Target along with Trader Joe’s. If your cashew butter is NOT drippy, this recipe will not work. Feel to use peanut butter or almond butter instead.
- Protein powder: I used Garden of Life plant-based protein powder in this recipe, but whey will work too!
Calories: 136 kcal, Carbohydrates: 10 g, Protein: 6 g, Fat: 9 g, Fiber: 1 g, Sugar: 2 g
Nutrition information is automatically calculated, so should only be used as an approximation.