Homemade Protein Bars (Peanut Butter + Chocolate)
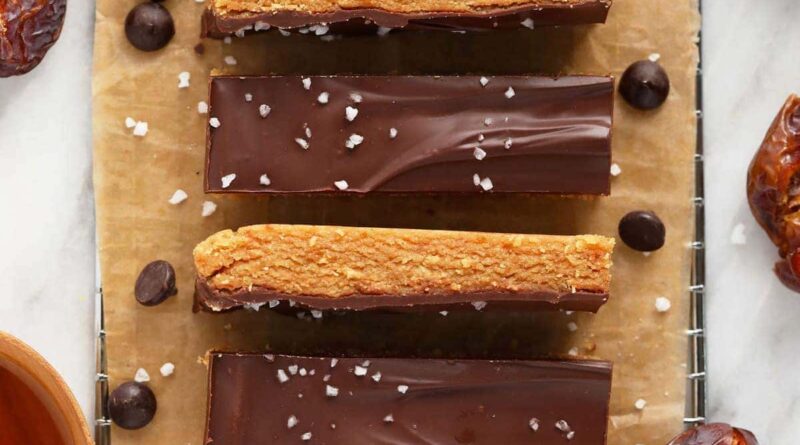
My homemade protein bars are a no-bake snack made in a food processor with soft dates, peanut butter, oat flour, and protein powder. I top them with chocolate and coarse sea salt for a simple, make-ahead treat.
If you love my peanut butter protein balls, you’re going to adore these peanut butter protein bars. I also love serving them as a dessert at any time of day.
Why You’ll Love These Homemade Protein Bars
- No baking: These bars set in the freezer instead of the oven.
- Simple ingredients: Dates, peanut butter, oat flour, honey, vanilla, and protein powder form the base.
- Cookie-dough texture: Soft dates, drippy peanut butter, and honey help create a mixture that holds its shape.
- Finish and store: Add the optional chocolate topping, then chill or freeze the sliced bars for later.
“Great bars. I’ve made them four or five times. I recommend pitting and then soaking the medjool dates in warm water for 10 minutes, grind up your oats to make flour, transfer the flour to a bowl, and then grind up the medjool dates before adding anything else. Makes it much easier.” – Josh
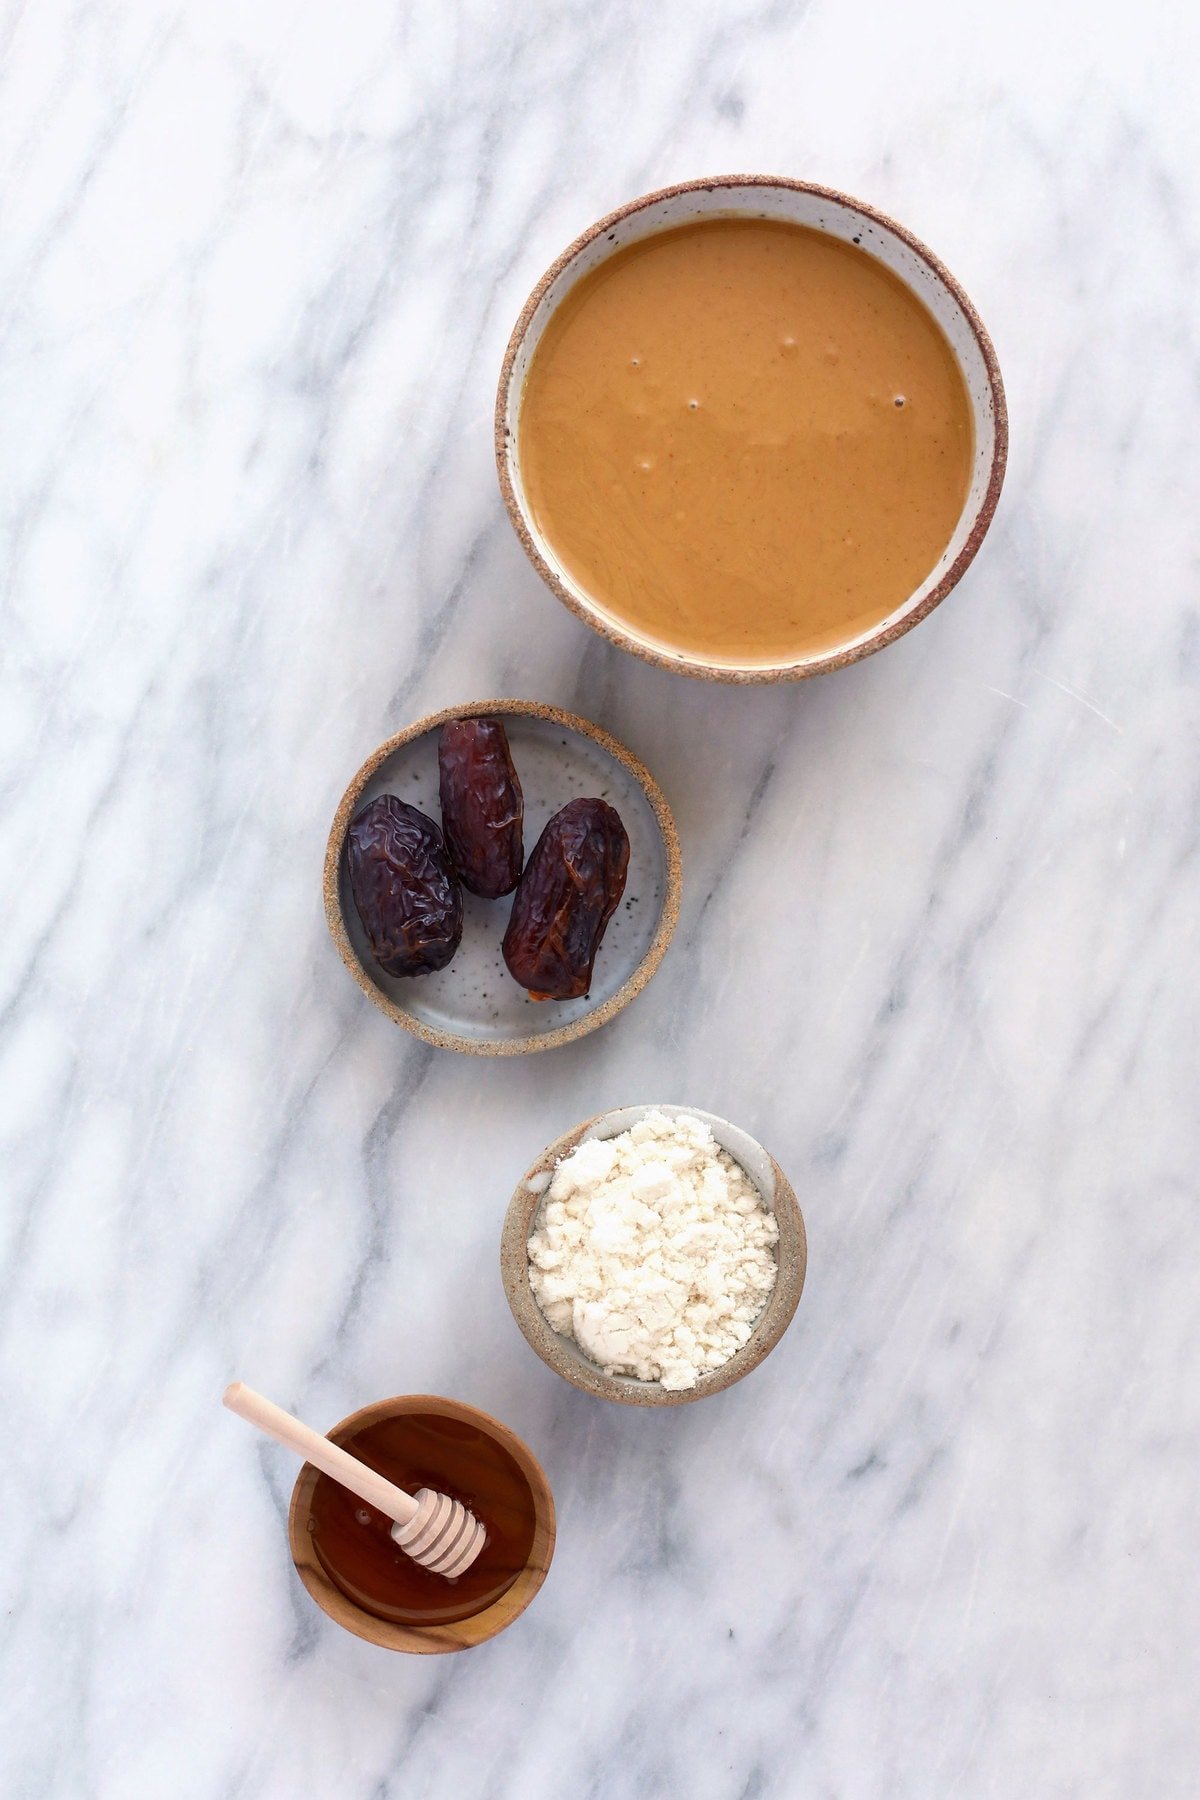
Ingredients for Homemade Protein Bars
- Medjool dates: Make sure your dates are soft. If they are hard or stale, you can soak them in warm water for a few minutes to soften.
- All-natural peanut butter: Use a drippy, all-natural peanut butter such as Smucker’s or Trader Joe’s brand. The thickness of your peanut butter affects how much water the mixture needs.
- Honey: Honey adds sweetness and helps bind the bars together, so I don’t recommend swapping it for maple syrup or agave in this formula.
- Vanilla protein powder: I used whey protein. Other types or flavors may work, but protein powders vary in sweetness and consistency.
- Ground oat flour: Ground oat flour is a whole grain and can easily be made by pulverizing oats in a food processor until flour-like.
- Vanilla extract: Adds great flavor.
Ingredient Swaps and Substitutions
The most obvious substitution I can make in this recipe is nut butter. If I can’t do peanuts or don’t have peanut butter, I can try cashew butter or almond butter, though the consistency may change.
While I prefer whey protein powder, other types or flavors are options. Protein powders vary, so a different powder may change the sweetness or cookie-dough consistency.
If I’m feeling lazy, I can turn these protein bars into protein balls instead. I simply use a 1-tablespoon cookie scoop to scoop the batter into my hands and roll it into balls.
Top Tips for Homemade Protein Bars
- Too dry: Add water one tablespoon at a time.
- Too wet: Add more oat flour.
Optional Chocolate Topping
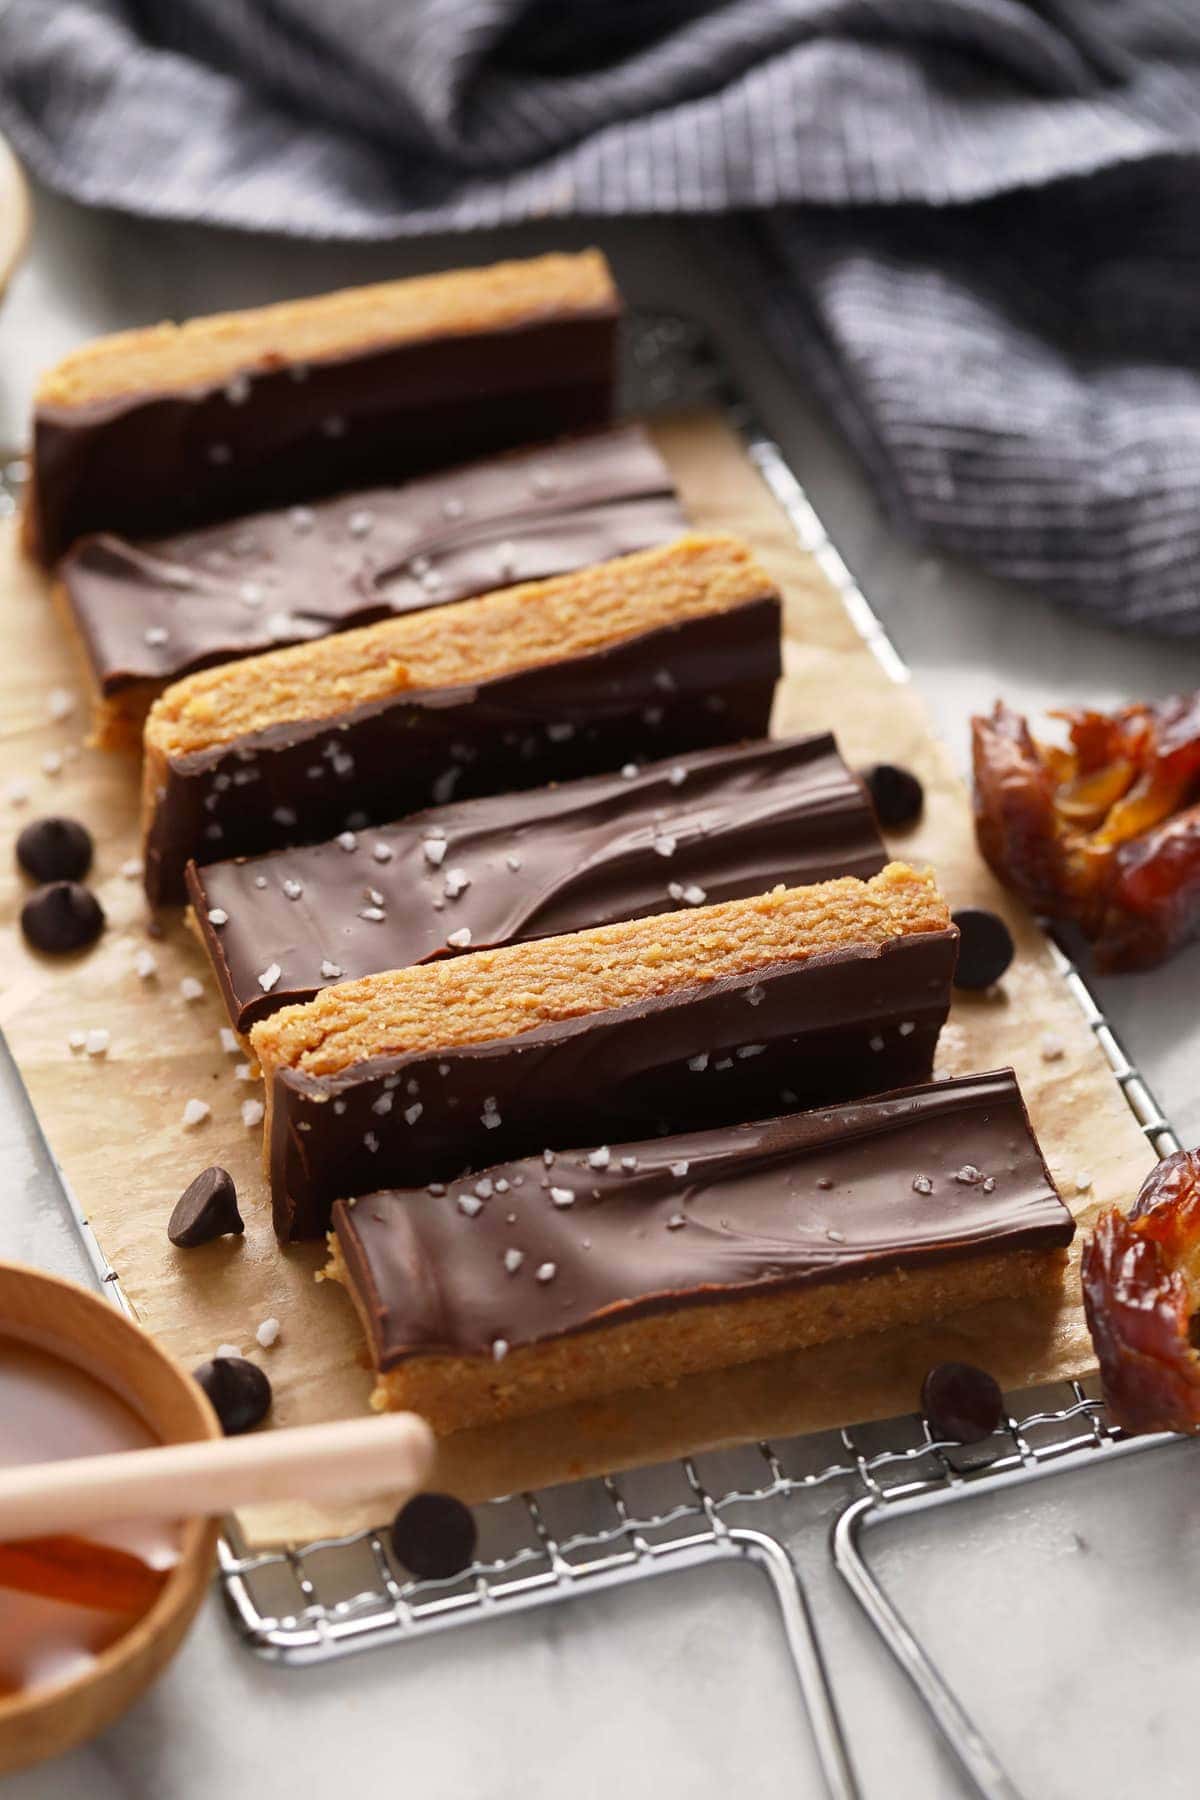
The optional chocolate topping adds chocolate flavor and a little coarse sea salt to these bars. It needs to harden before the bars are sliced.
Yes. The chocolate topping is optional; the peanut-butter/date bar mixture can be pressed into the prepared pan and chilled or frozen until firm enough to slice. The topping’s chocolate chips, coconut oil, and coarse sea salt are not included in the base nutrition calculation.
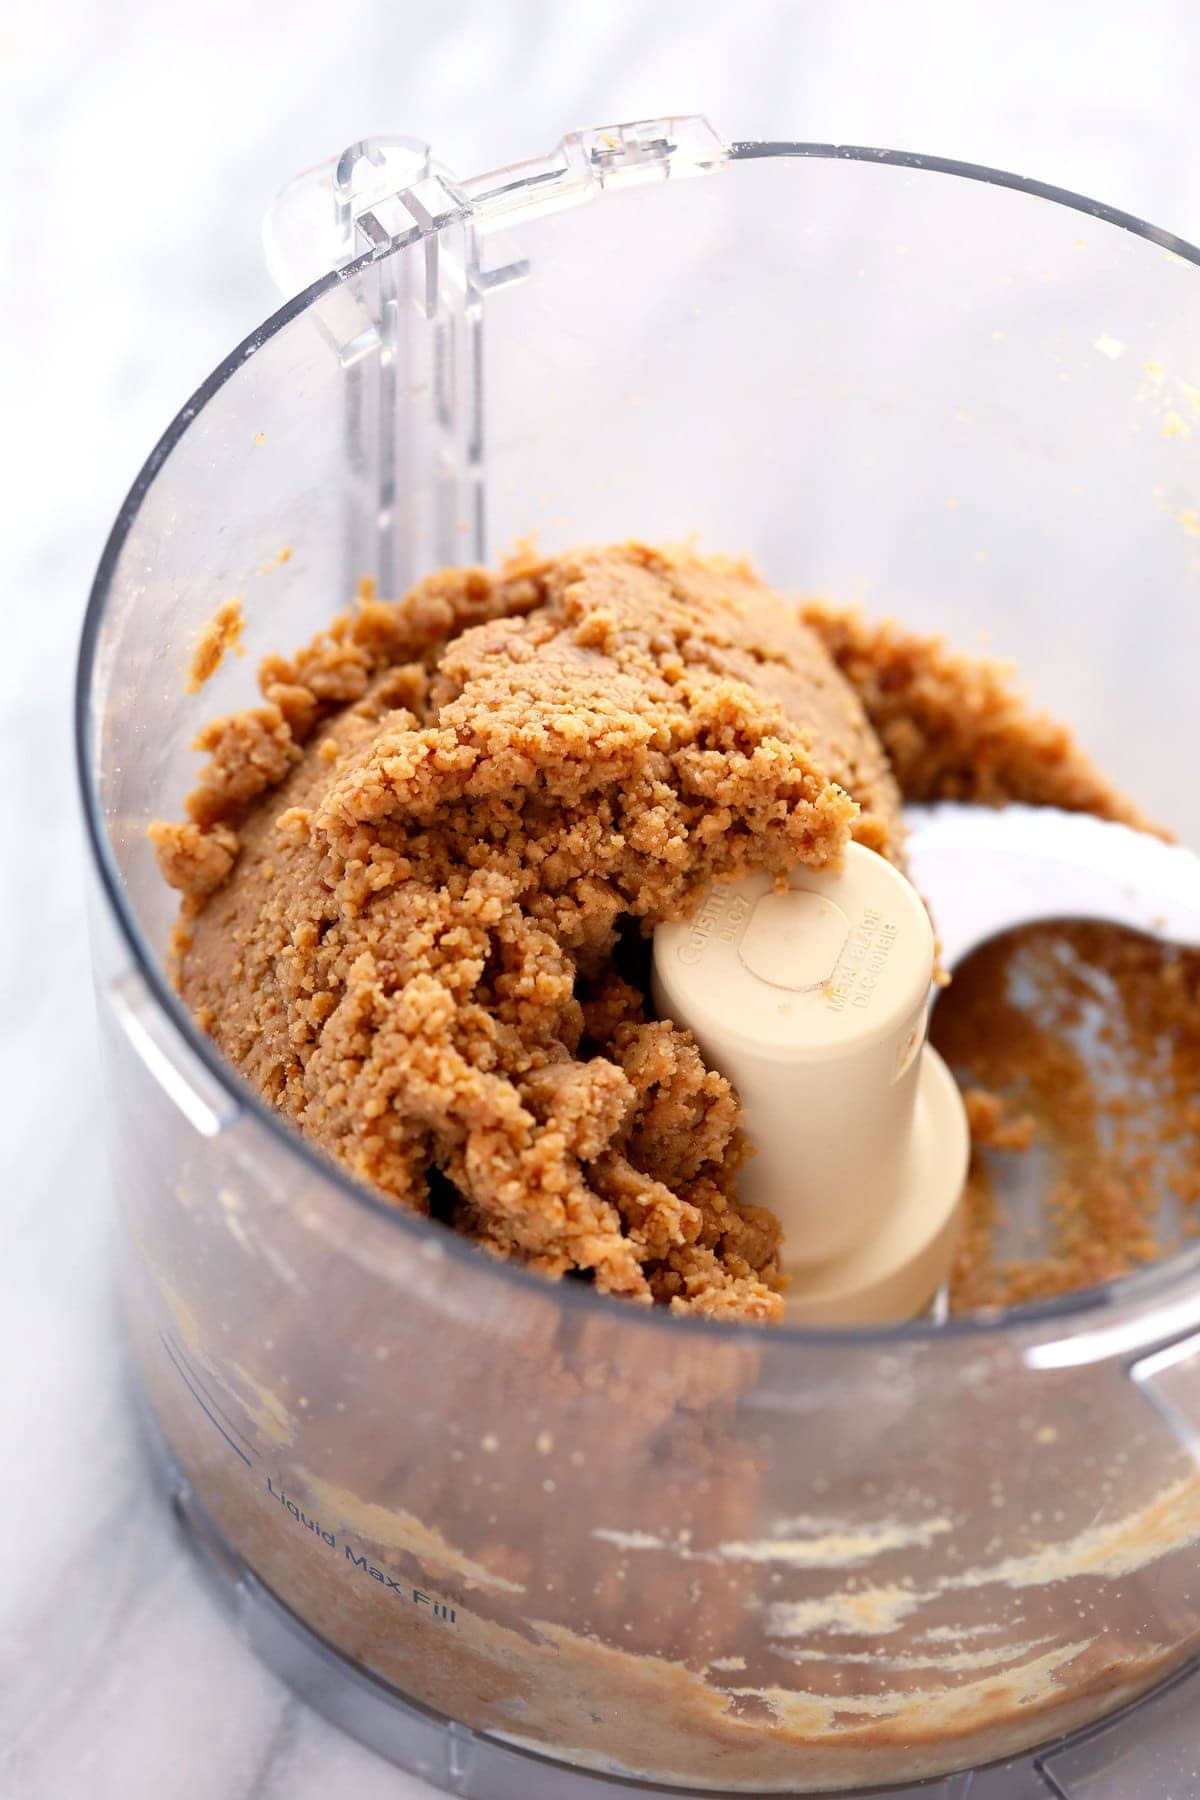
Add water one tablespoon at a time and continue processing until the mixture resembles cookie dough and holds its shape. The amount of water can vary depending on how drippy your peanut butter is, so you may need less or more than the listed 1/4 cup.
Use a drippy, all-natural peanut butter. A thick peanut-butter spread can make the dough harder to combine and may change how much water it needs.
The current recipe was made with vanilla whey protein powder, and the post notes that other types or flavors can be used. Because protein powders vary, the sweetness and cookie-dough consistency may change; adjust the water gradually rather than adding it all at once.
Store sliced bars in an airtight container or gallon-size bag in the refrigerator for up to 7 days, or freeze them for up to 3 months.
Use a 9×9-inch parchment-lined pan for thicker bars or a 9×13-inch pan for thinner bars. Other pan sizes can work too; the pan size changes the bar thickness and yield/shape.
Once your protein bars have been sliced and the chocolate has hardened, transfer them into an airtight container or gallon-size plastic bag and store them in the refrigerator for up to 7 days.
I actually prefer to store homemade protein bars in the freezer because they last longer.
Transfer sliced bars into a freezer-safe gallon-size bag and freeze for up to 3 months.
-
Line a 9×9-inch or 9×13-inch baking dish with parchment paper. Use a 9×9-inch pan for thicker bars or a 9×13-inch pan for thinner bars; other pan sizes work too, but they change the bar thickness and shape.
-
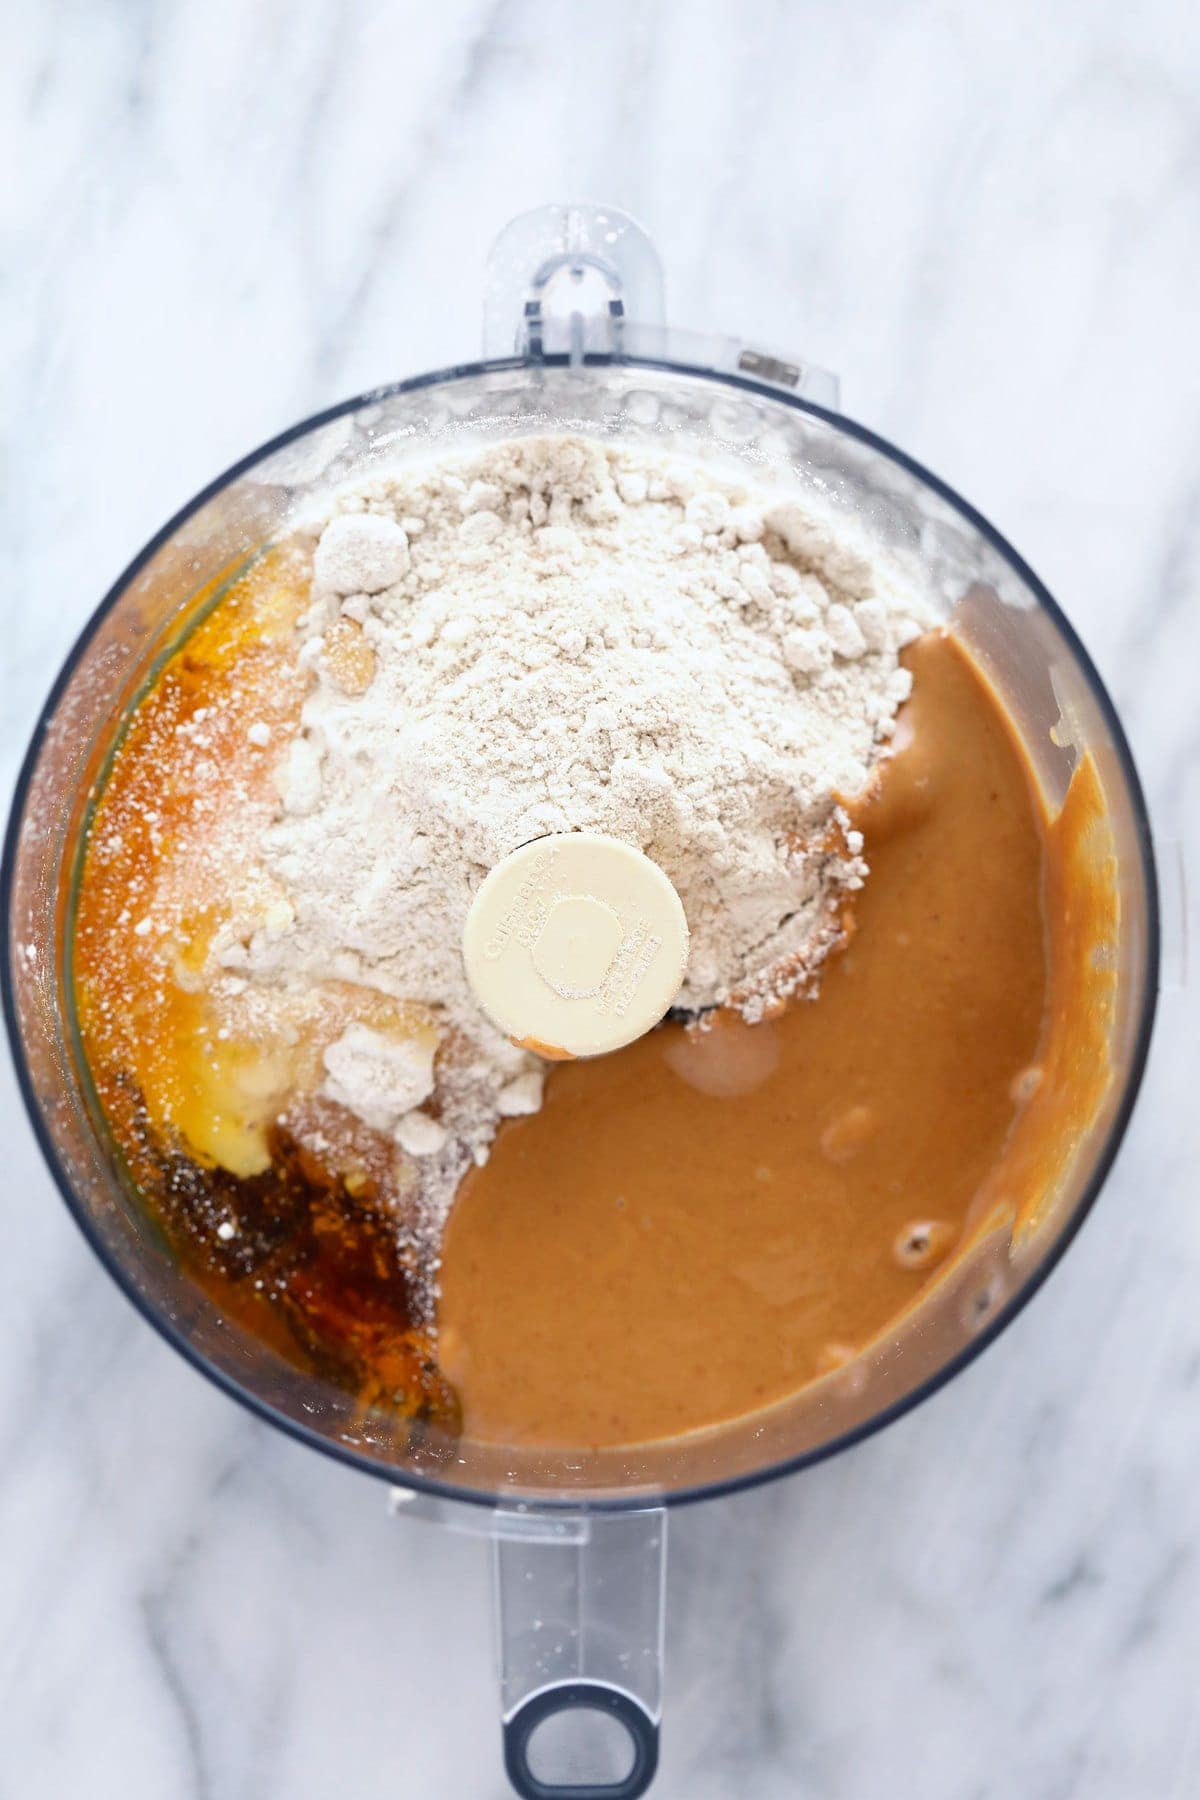
Place the Medjool dates, peanut butter, oat flour, honey, vanilla extract, and protein powder into a high-speed food processor.
-
Process on high for 2-3 minutes, stopping to scrape the sides as needed.
-
Add water by the tablespoon and continue to process on high until the dates have disappeared into the dough and the mixture resembles cookie dough that holds its shape. The listed 1/4 cup of water is variable depending on how drippy your peanut butter is, so you may need less or more.
-
Press the dough evenly into the prepared pan.
-
Prepare the chocolate topping by placing the dark chocolate chips and coconut oil into a microwave-safe bowl. Microwave in 15-second increments, stirring between increments, until melted and smooth.
-
Pour the chocolate topping over the protein bars and use a spatula to spread it evenly. Sprinkle with coarse sea salt.
-
Place the bars in the freezer for 30-60 minutes, or until the chocolate has fully hardened. Slice the bars once set.
-
Store sliced bars in the refrigerator for up to 7 days or in the freezer for up to 3 months.
- This recipe was updated on January 16, 2021. Click HERE for the original recipe.
- Medjool Dates: Make sure your Medjool dates are soft or they will not break down. If your dates are hard, you can soak them in hot water to soften them.
- Peanut butter: The peanut butter I used was very drippy. I suggest using the following brands: Kirkland, Smucker’s All-Natural, or Good and Gather All Natural.
- Nutrition information does not include chocolate topping.
- Use a good food processor: This has to be my #1 tip. A high-speed food processor is so important for not only pulverizing your dates but combining all of your ingredients into a smooth consistency.
- Any size pan works: Since these are no-bake protein bars, you can use any size pan. Use a square pan or even 2 loaf pans. You can cut your bars smaller, longer, thicker, etc. The pan size changes the bar thickness and shape.
- Consistency is key: All said and done, you’re looking to get a cookie-dough-like consistency out of your batter. This is why this recipe calls for drippy peanut butter and honey. They will help your ingredients stick.
- Too dry: Add more water.
- Too wet: Add more oat flour.
[adthrive-in-post-video-player video-id=”3hePpiZF” upload-date=”2021-01-17T00:00:00.000Z” name=”Peanut Butter Protein Bars” description=”This delicious peanut butter protein bar recipe pack in protein, fiber, and flavor. The kids will love these homemade protein bars!”]
Calories: 199 kcal, Carbohydrates: 25 g, Protein: 6 g, Fat: 8 g, Fiber: 2 g, Sugar: 13 g
Nutrition information is automatically calculated, so should only be used as an approximation.